This manual will describe in detail and utilizing illustrations how to set up a secured connection to the intranet of the University of Konstanz. The manual refers to an older macOS-Version, but can be applied - with some small optical differences - to all current macOS-Versions.
Attention: If you experience Problems with the Installation, or Incompabilities of the AnyConnect-Version to an older macOS-Version, please refer to the Section at the Bottom of this page!
Requirements:
- a fully-secured computer
- a valid Uni Konstanz account
1. Downloading and installing AnyConnect
- Download the AnyConnect installation file from here.
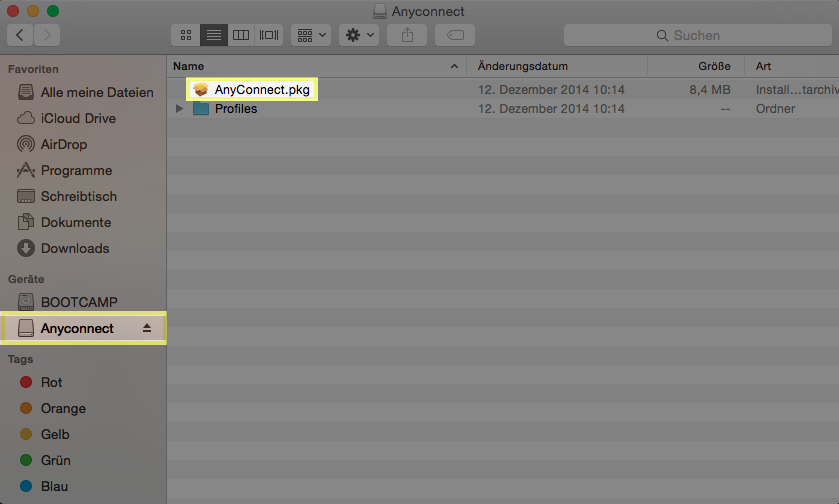
- Open the file. A new harddrive will appear on your desktop. It contains the AnyConnect.pkg. Clicking the .pkg file opens the installation dialogue.
- Select "Macintosh HD" as target harddrive.
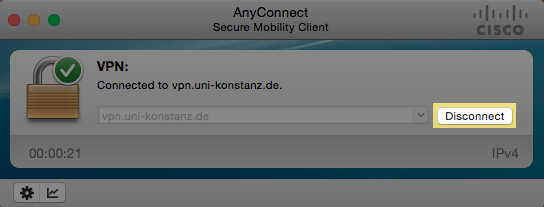
2. Starting Cisco AnyConnect Secure Mobility Client
- Now, start the AnyConnect Client.
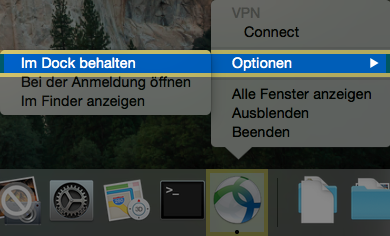
- Tip 1: The fastest way to start the client is by hitting CMD+spacebar and typing Cisco into the search bar. Afterwards, select Secure Mobility Client.
- Tip 2: Tip the AnyConnect icon in your dock with two finger, when the client is opened in order to get faster access to the VPN client through checking Options → Keep in doc.

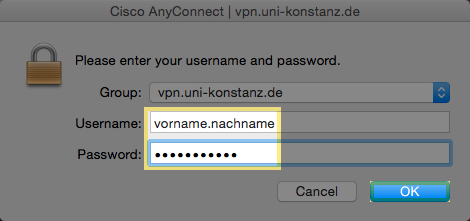
3. Inserting the server address
- If you are an employee, type the URL in the input line of the application: vpn.uni-konstanz.de
- If you are a student, type the URL in the input line of the application: vpn-stud.uni-konstanz.de (valid since 01.04.2020)
- Afterwards, click on Connect.